
My Risograph File Adventure
This time I did the color separation myself! Some mess, some stress, and sneaky leftover blobs—but hey, that’s risograph magic.

I made another reservation at Spudnik Press to use the risograph machine—so right now, I'm deep in printing file prep mode!
This time, instead of handing off the separation to Spectrolite like I usually do, I’m doing the color separations myself! That way, I can tweak the ink densities exactly how I want.
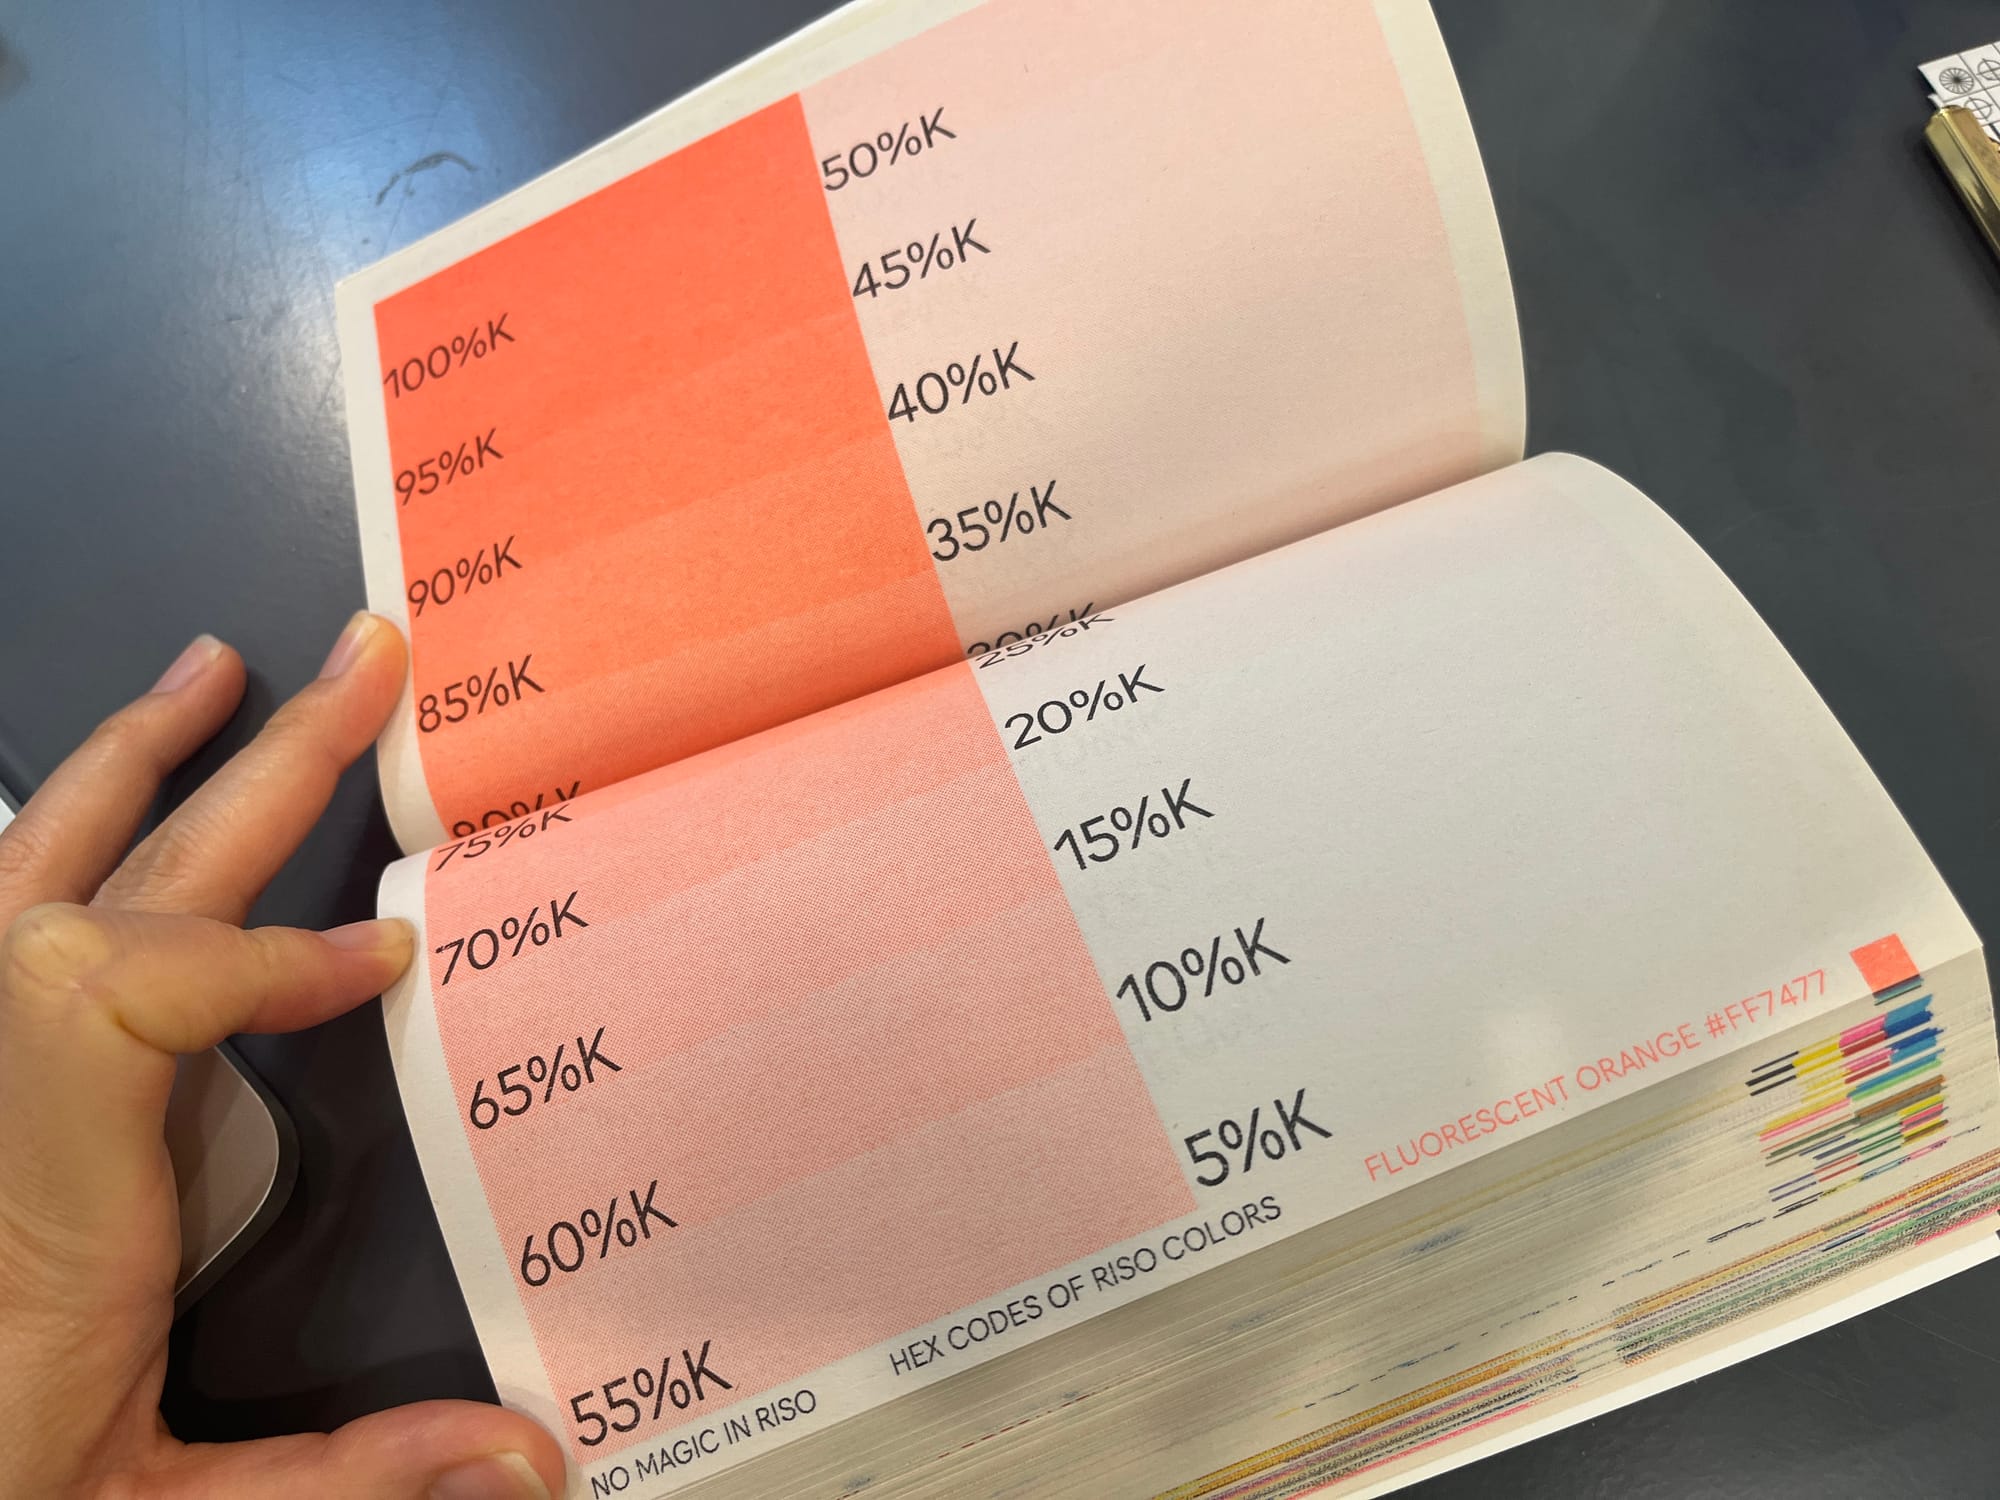
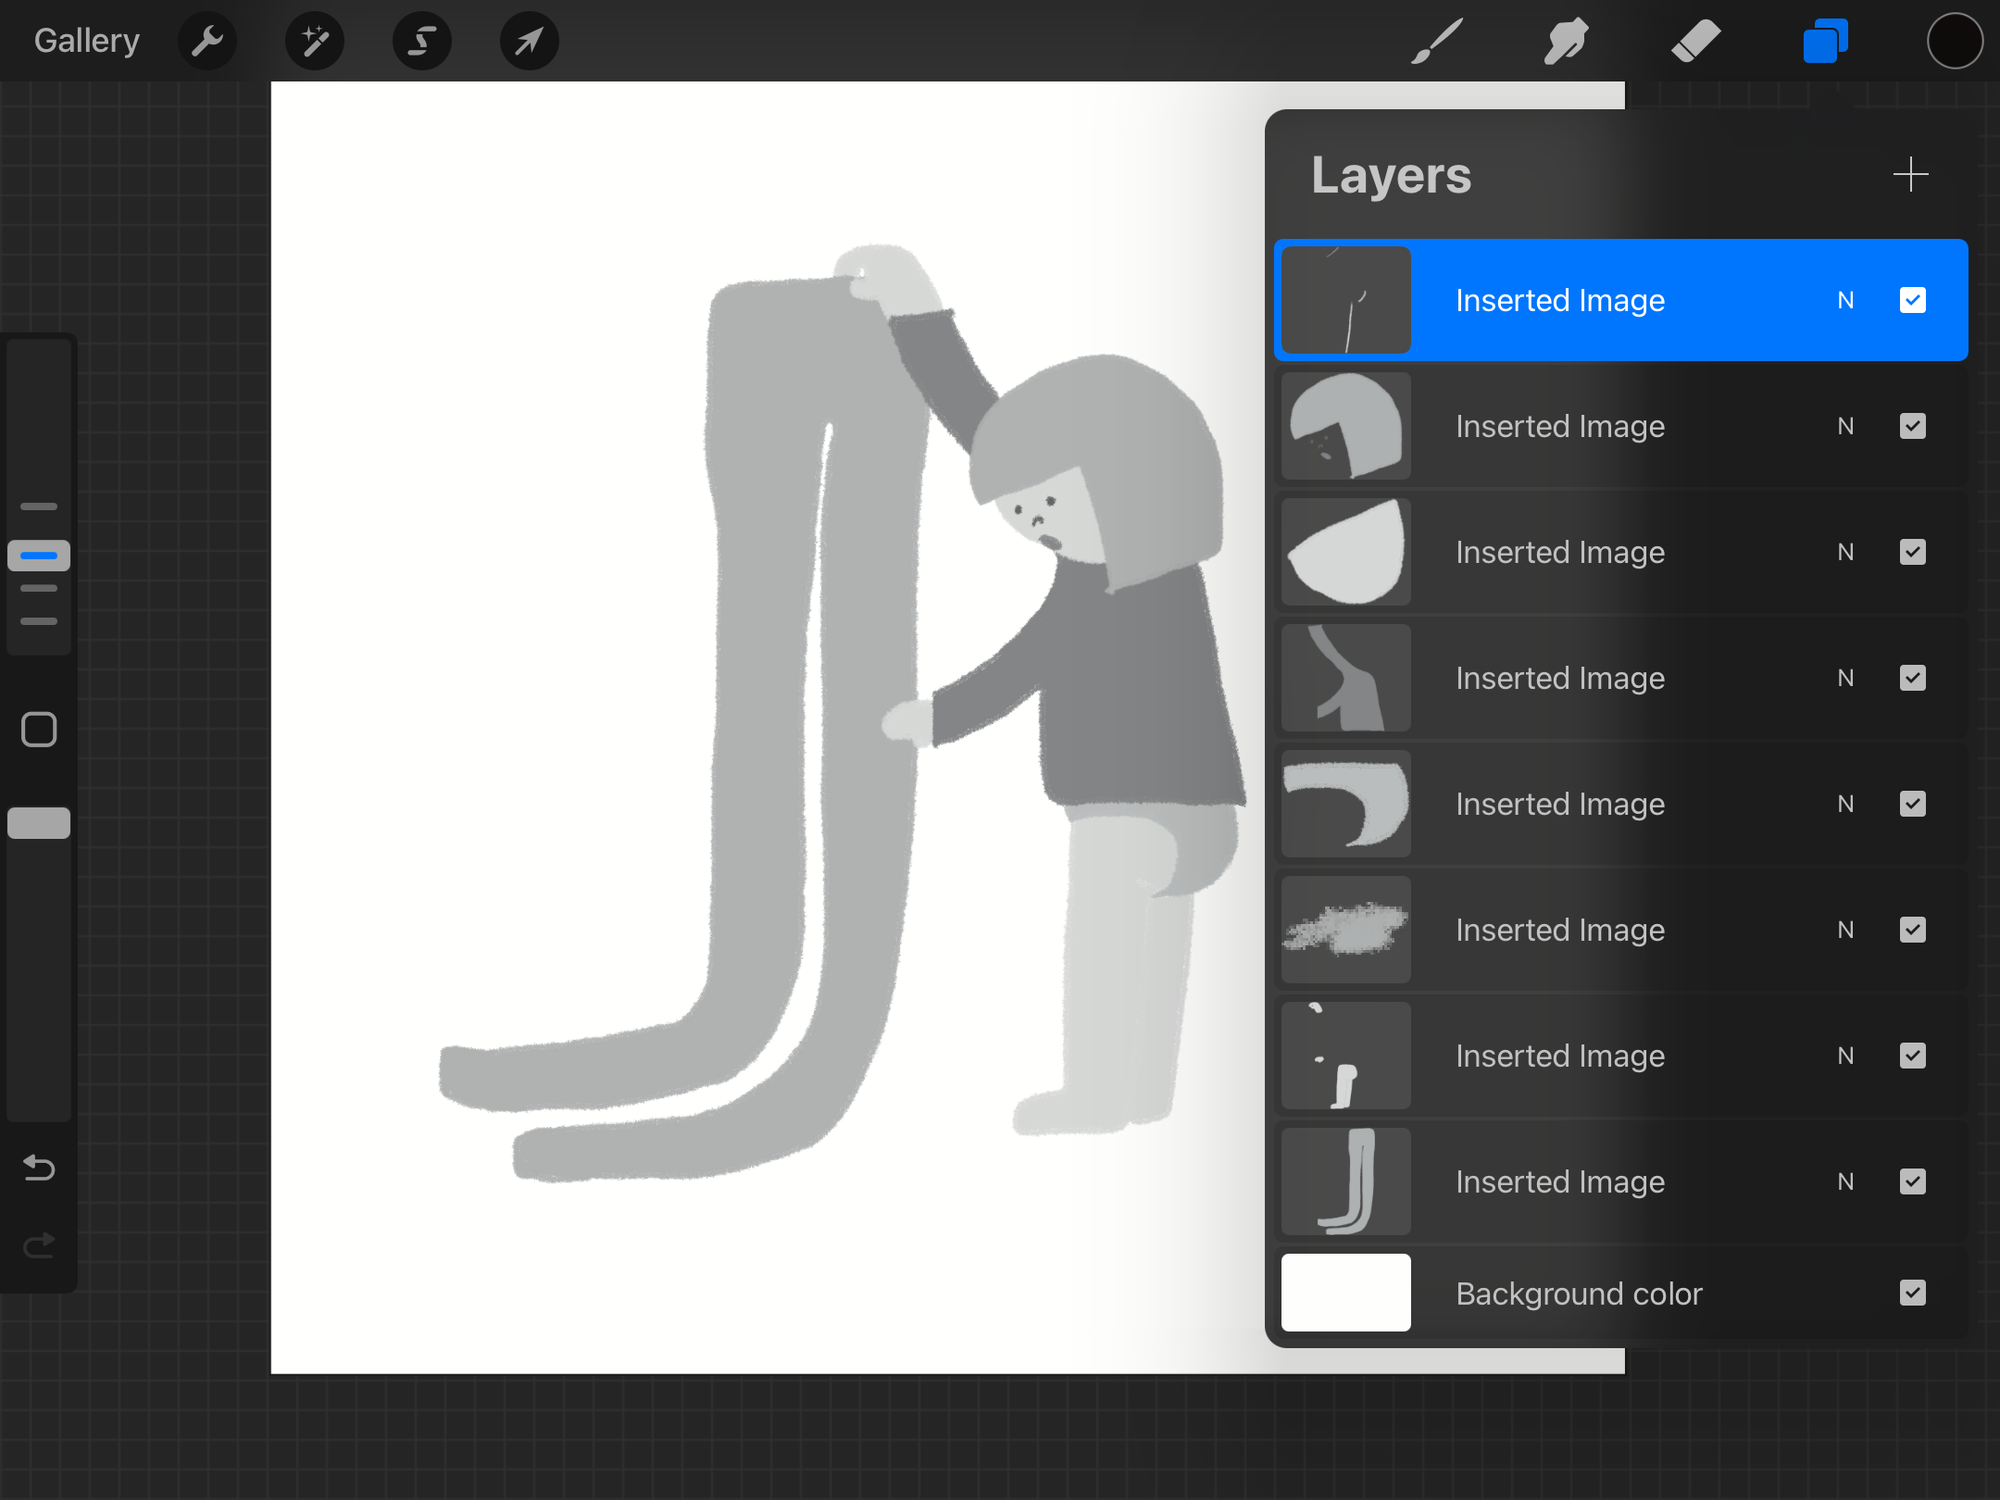
I’ve been using a book I had at home called No Magic In Riso to reference the ink samples while deciding which parts should be printed with which intensity of ink. Then, using that as a guide, I’m repainting everything in grayscale in Procreate.
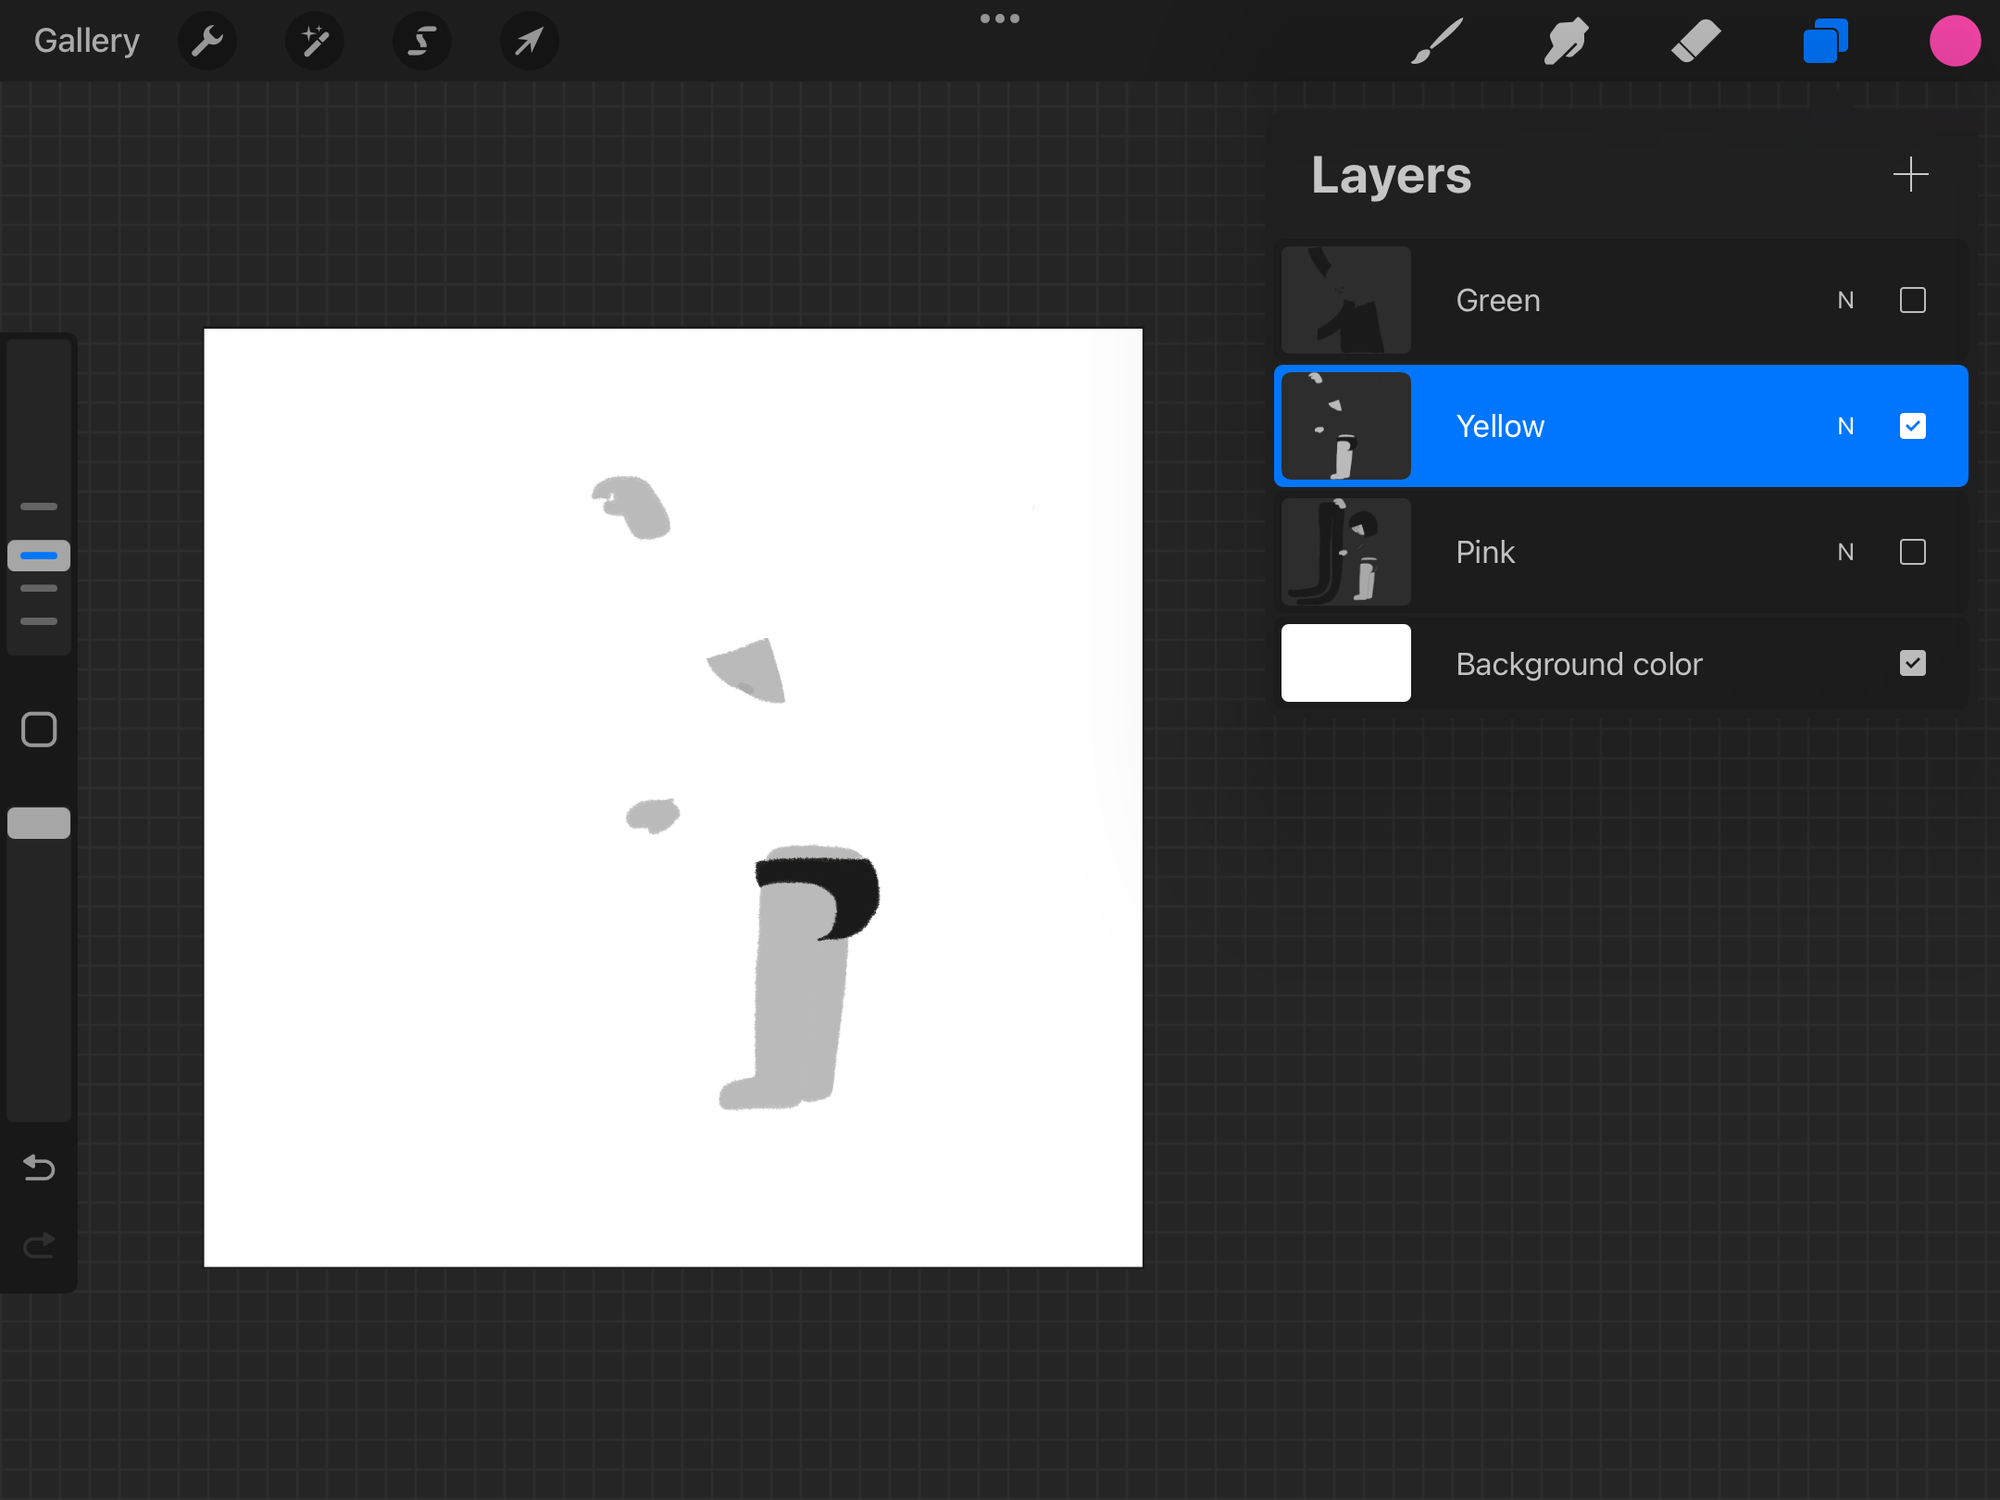
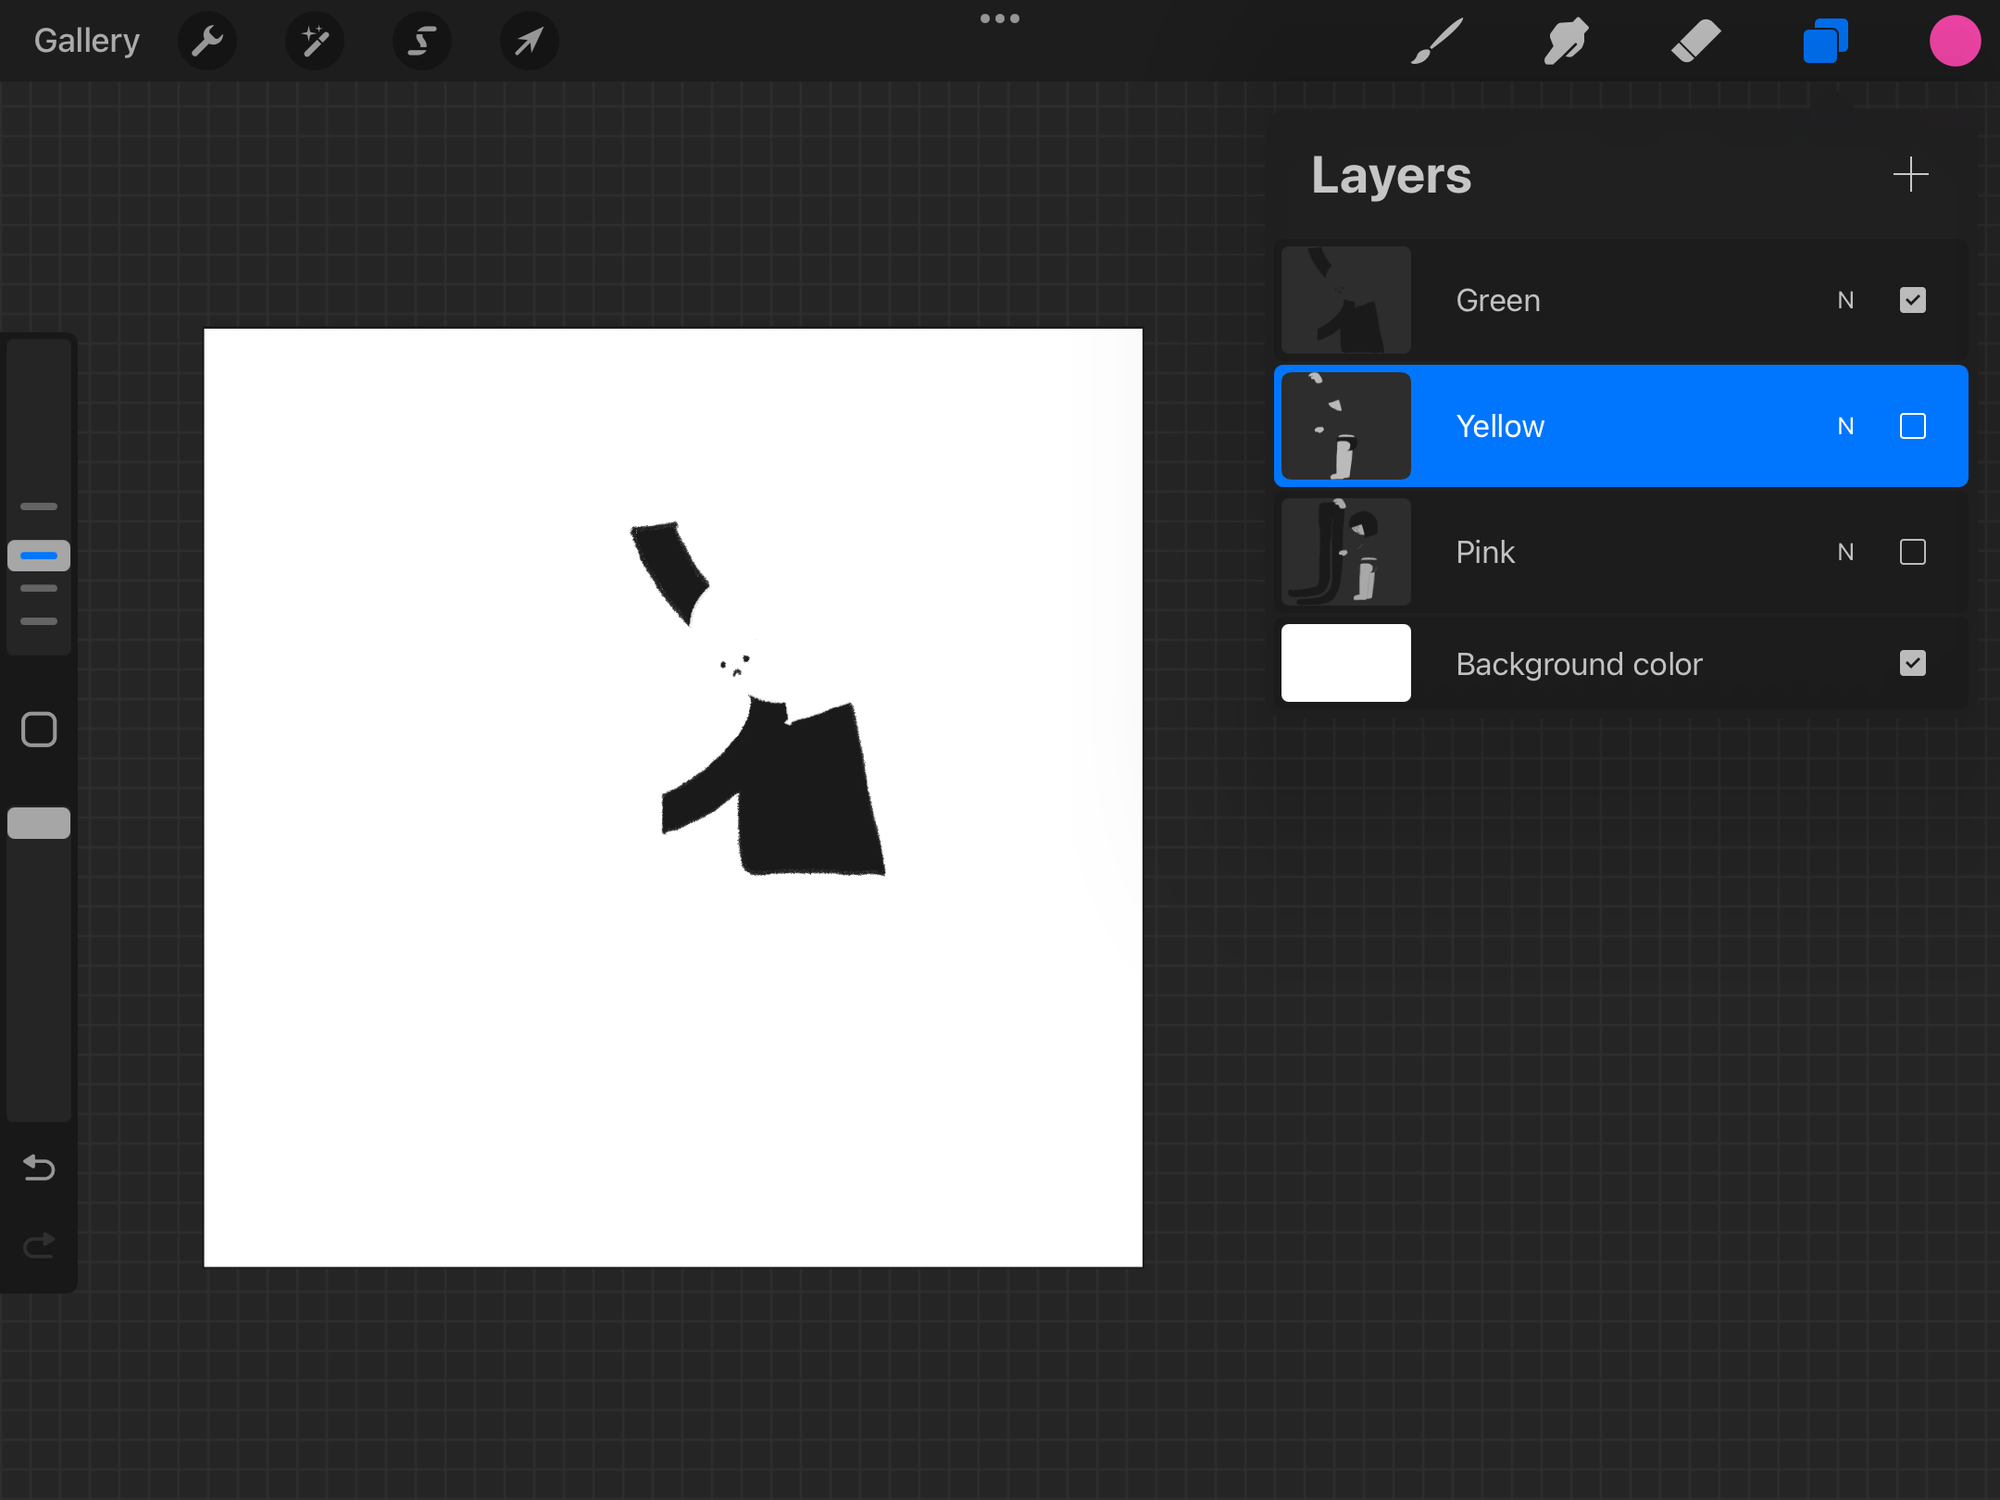
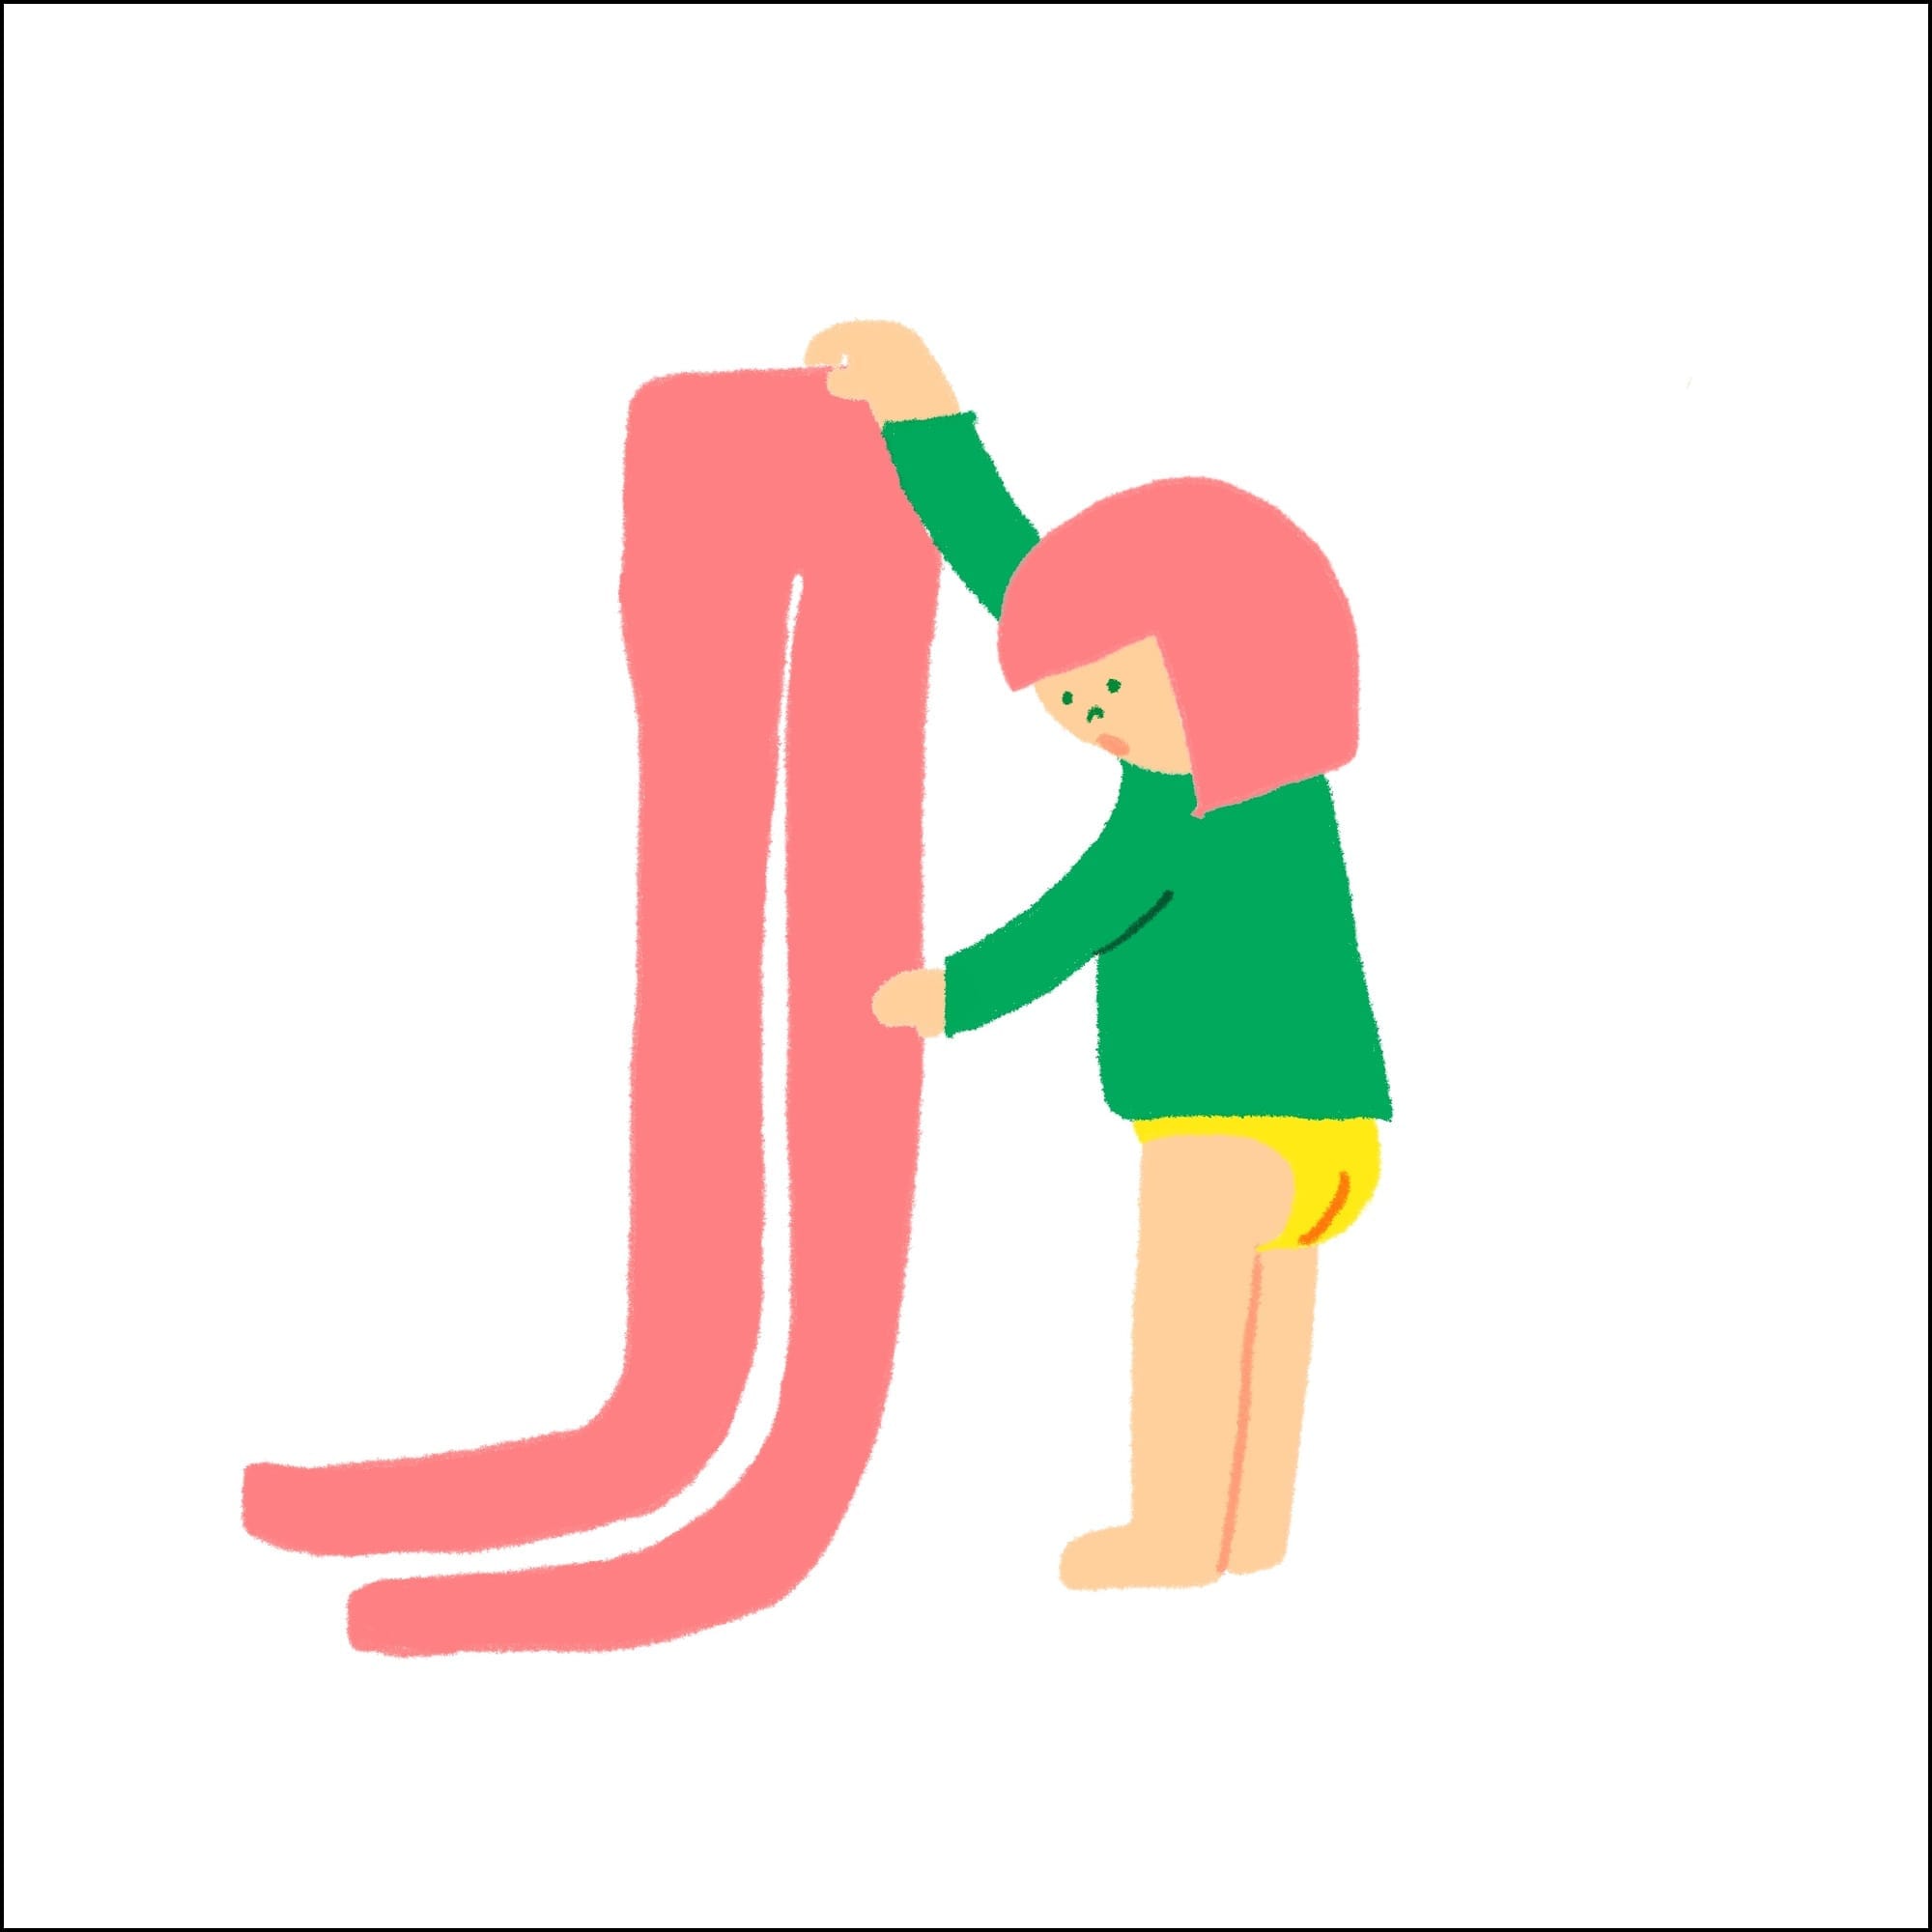
For this print, I’m using three inks: fluorescent orange, yellow, and green. So I made three separate layers of data—one for each color.


Here's a peek at how it looked!
I tried layering them together and recoloring them to match the ink colors... and—whoops! I forgot to mask out some parts—so there were still some unwanted bits messing things up.
So I cleaned it all up again, and here’s the finalized version! Looking good, if I do say so myself.
Doing the separations manually is definitely more work, but I feel like I get more control over the final print. Like, I can choose to make the eyes just a single-color shape instead of layered colors, so that even if the registration is off, it still looks fine. (Of course, with risograph printing, you never really know until it’s printed, lol.)
I'm working on more illustrations to print, so I'll share more tomorrow!