
Procreate Tip for Risograph Prep: Select & Cut Saves the Day!
Using Procreate’s Select & Cut tool to prep clean layers for risograph printing—game changer
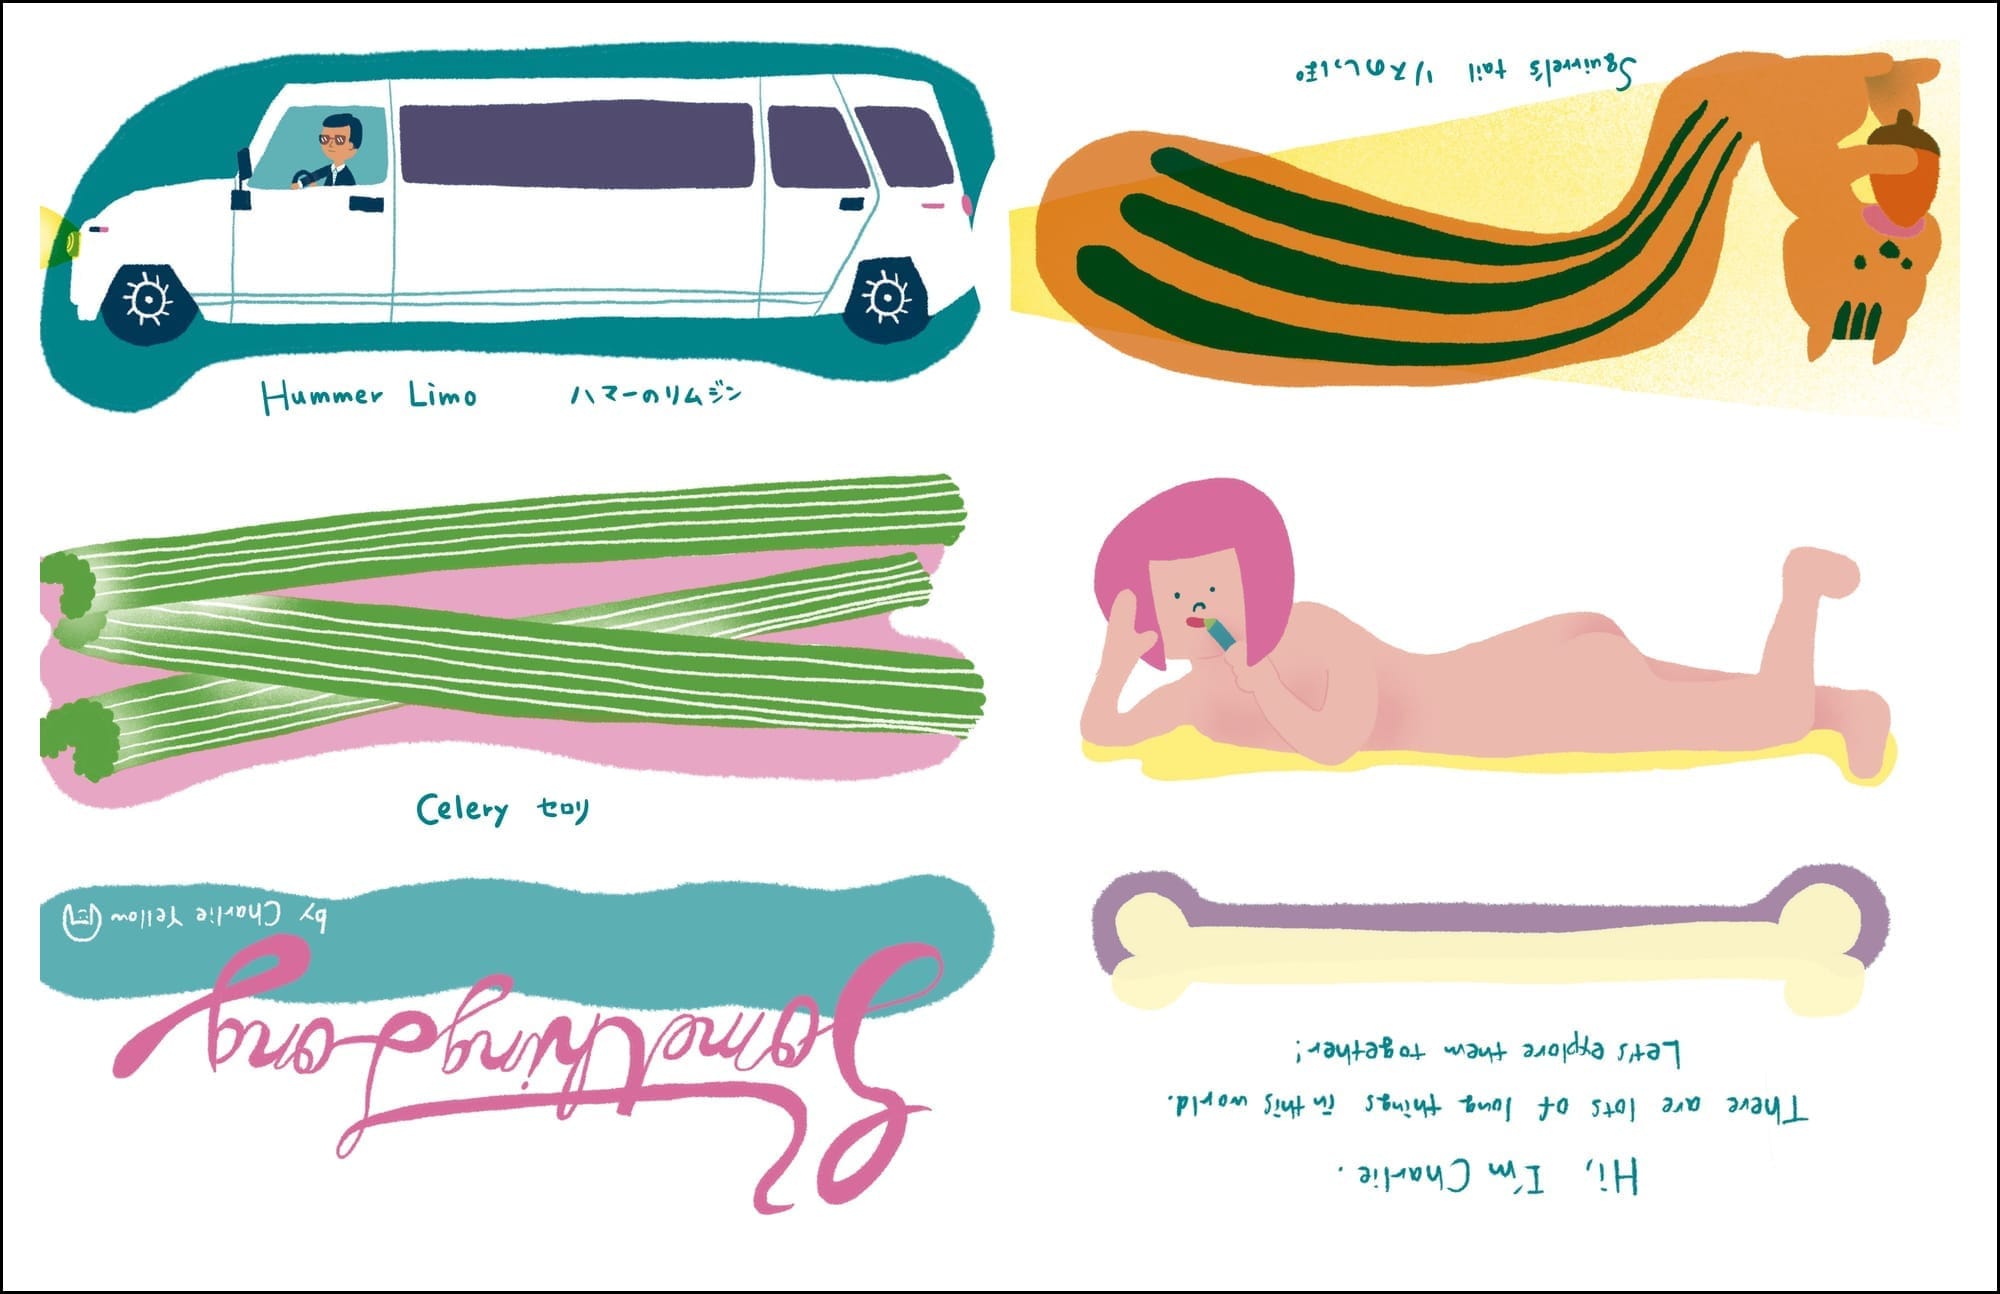
I've been slowly chipping away at Something Long, making a little progress each day.
My progress of the day!
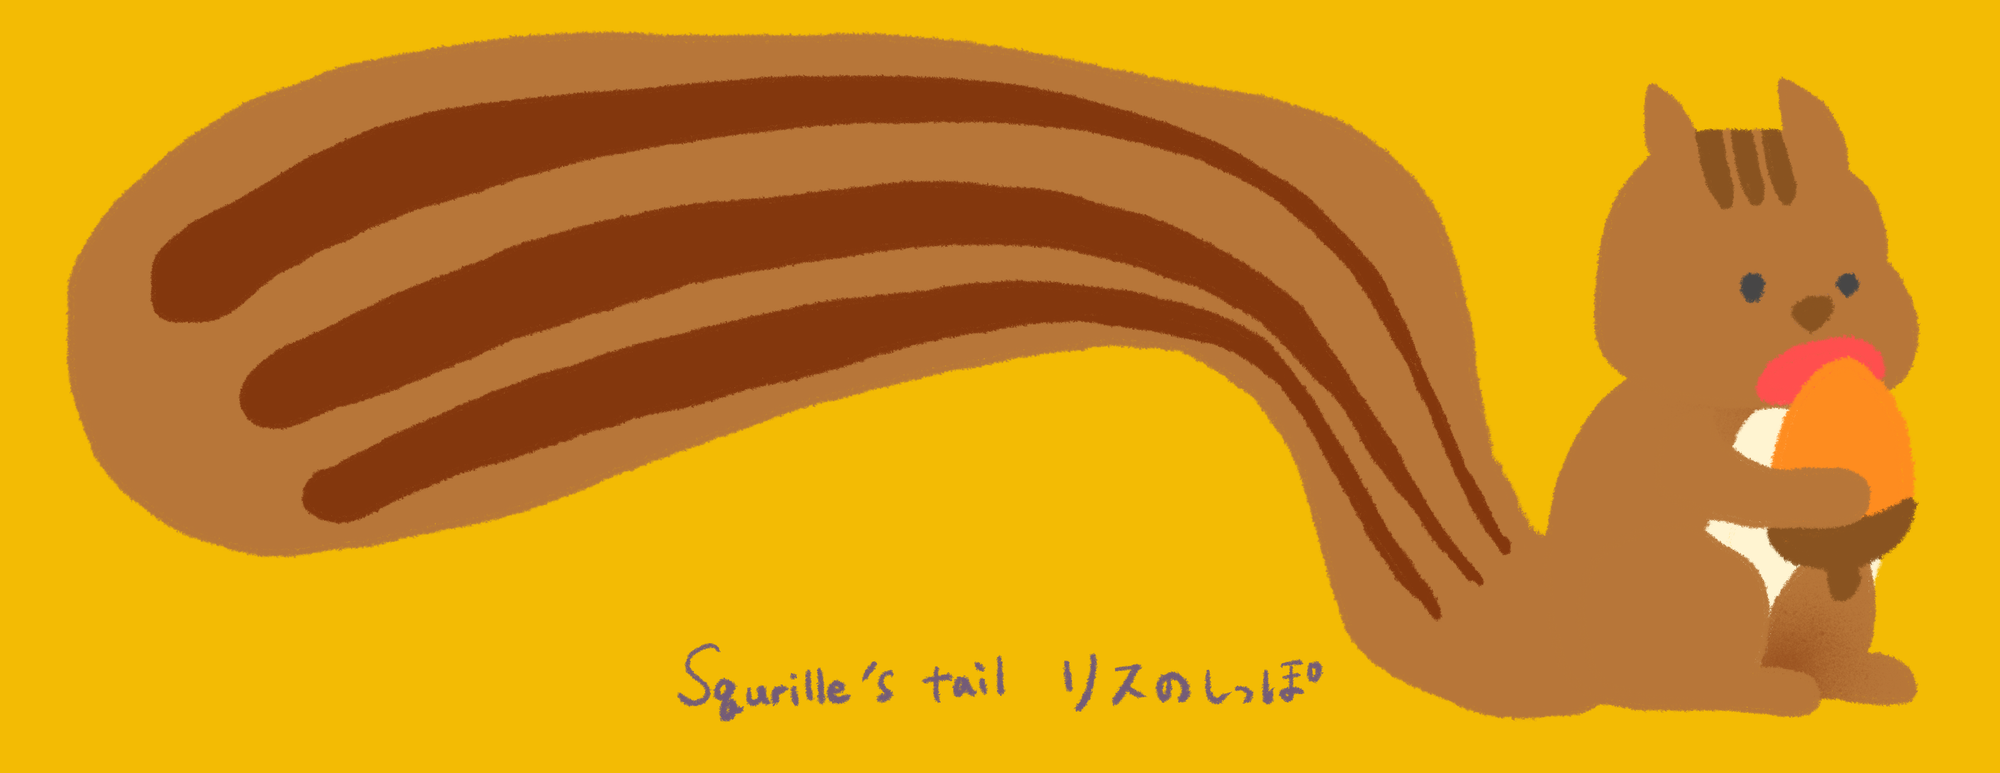
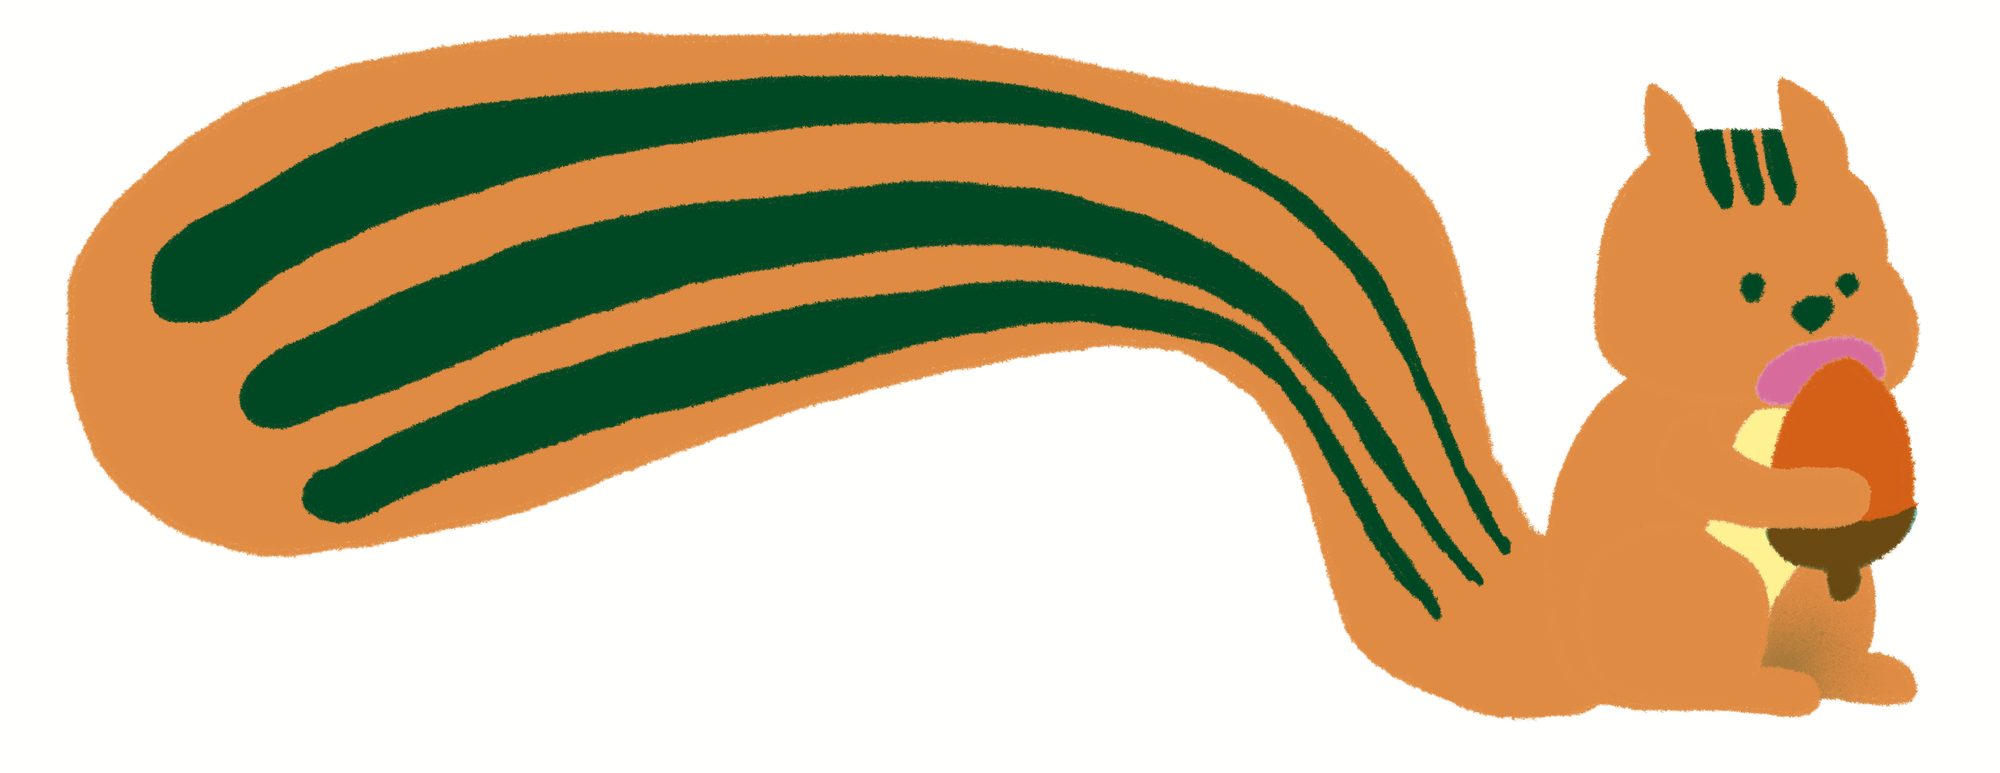
Recently, I discovered a super useful feature in Procreate for preparing files for risograph printing—Select & Cut! With this tool, it’s incredibly easy to remove the excess parts of each color layer cleanly and efficiently.
Here’s how it works:
First, tap the thumbnail of the layer that contains the shape you want to use as your selection. From the pop-up menu, choose Select.

You’ll see a faint diagonal shading outside the selected area—this shows what part of the canvas is now selected.

Then, while the target layer is active, swipe three fingers down the screen to bring up the Copy & Paste menu. Choose Cut, and you're done!

When I’m drawing illustrations, I often don’t think too hard about how the colors will overlap, but cleaning up those overlapping areas is crucial for preparing clean, print-ready risograph layers. This little technique is a total game changer for speeding up that part of the process!