
Refining My Fire Horse Illustration
Making edits to my Fire Horse illustration and preparing the color separations for risograph printing. Time to get technical!

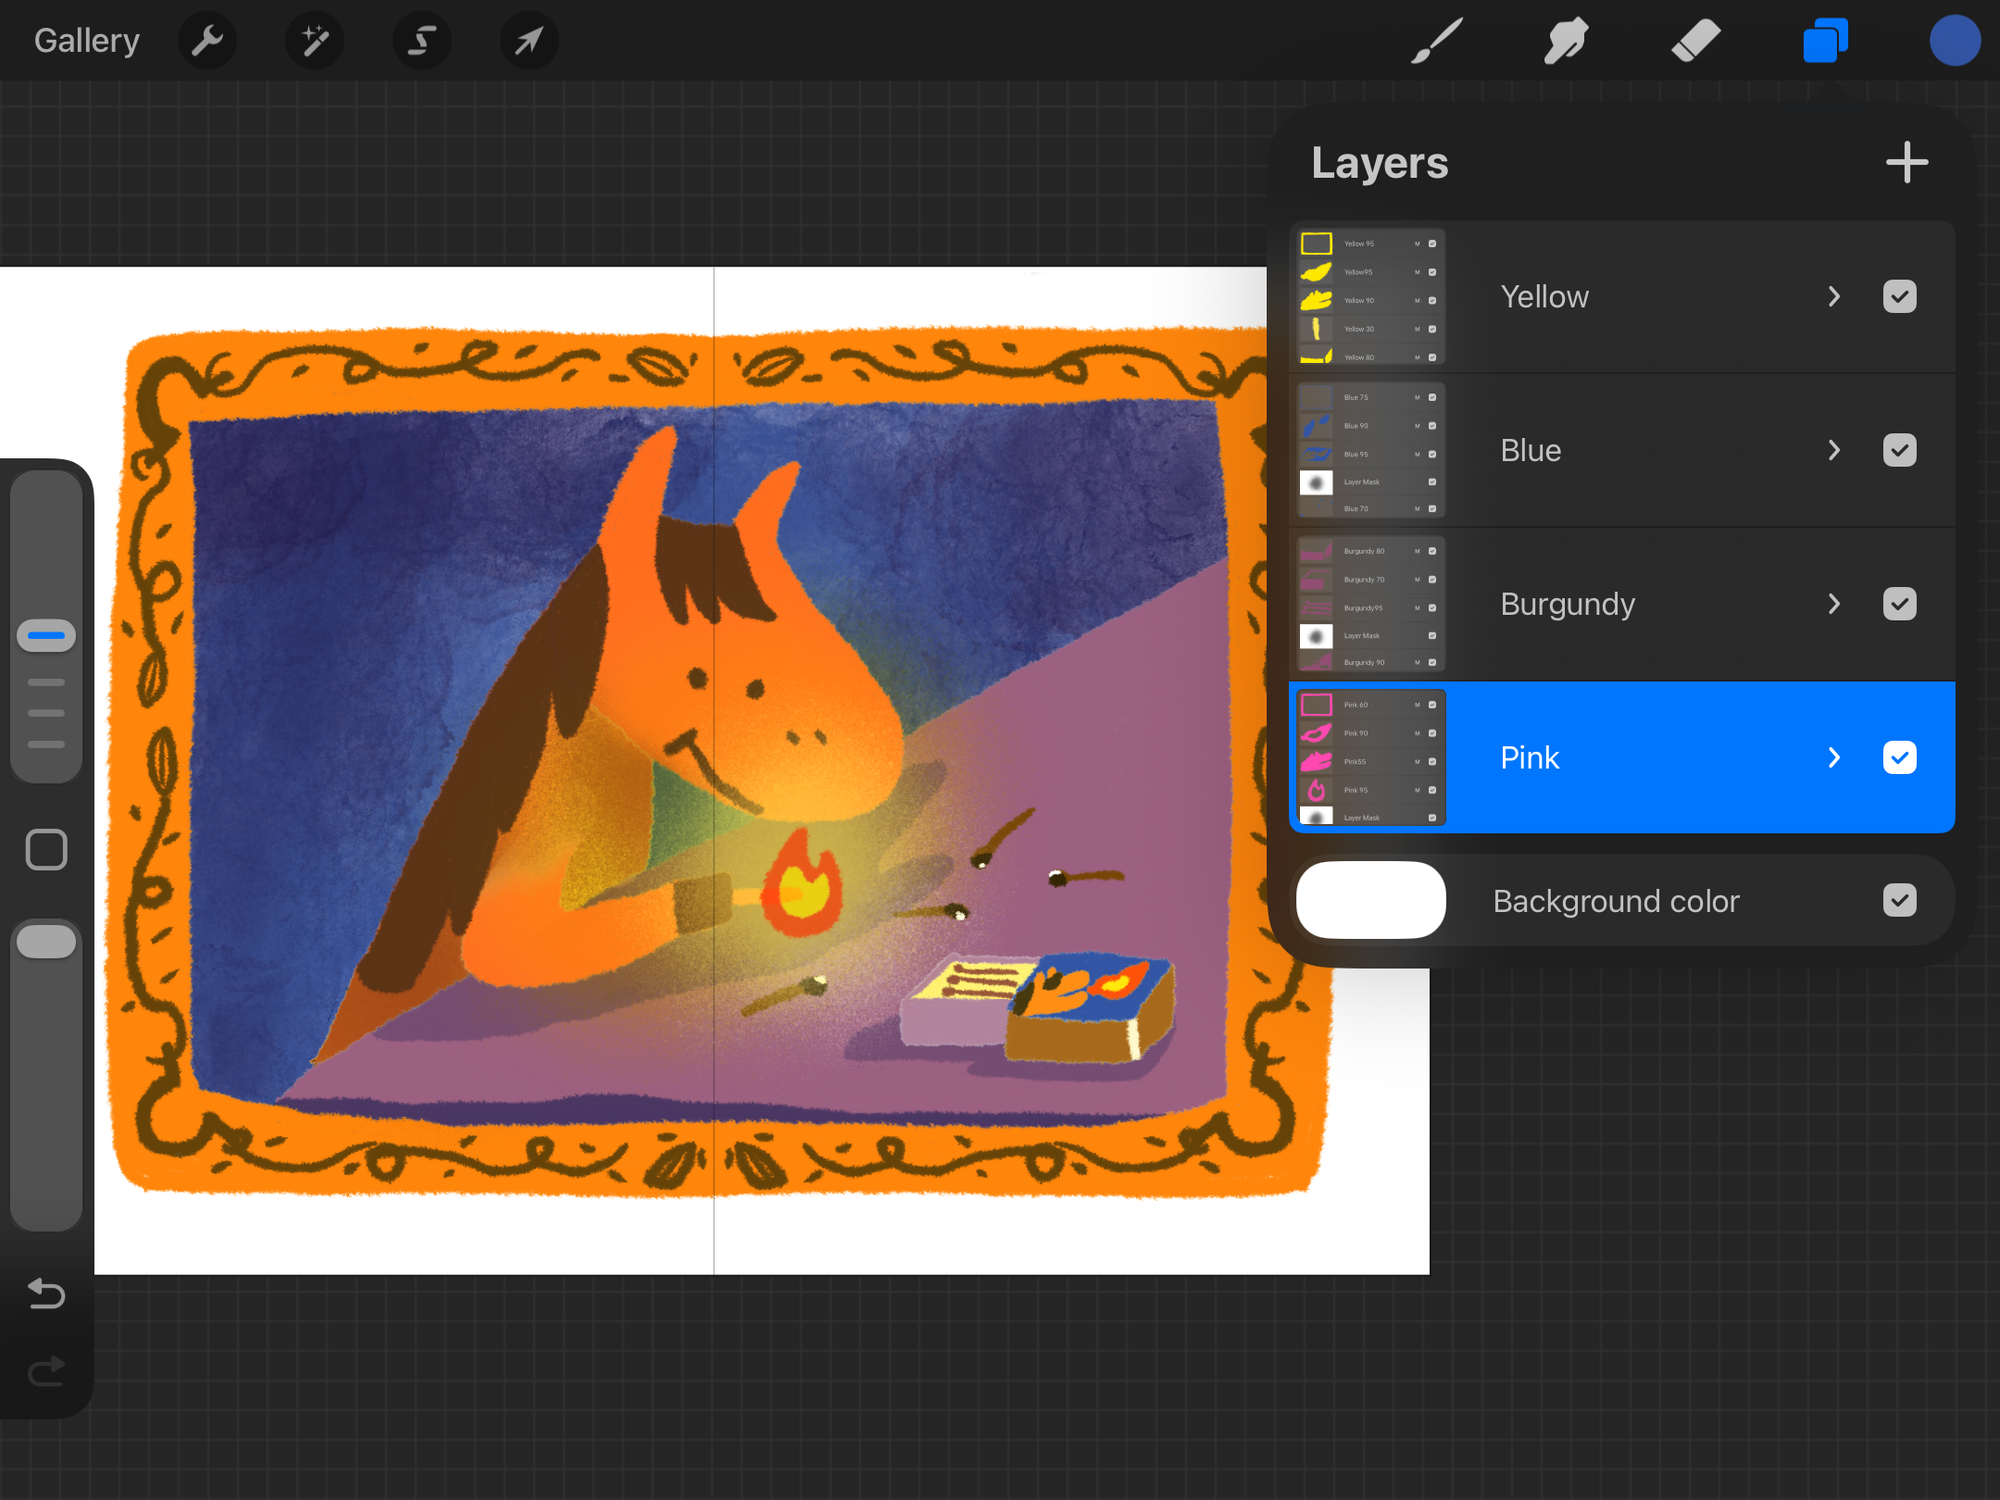
Today, I continued working on my Fire Horse illustration. I made some edits to the drawing and adjusted the composition so that it’s more obvious the horse is the main focus. Then it was time for color separation!
From last year, I’ve been exporting my separated color layers in Procreate as PSD files, and then converting them into grayscale in Photoshop. (You can see how I do it here!)
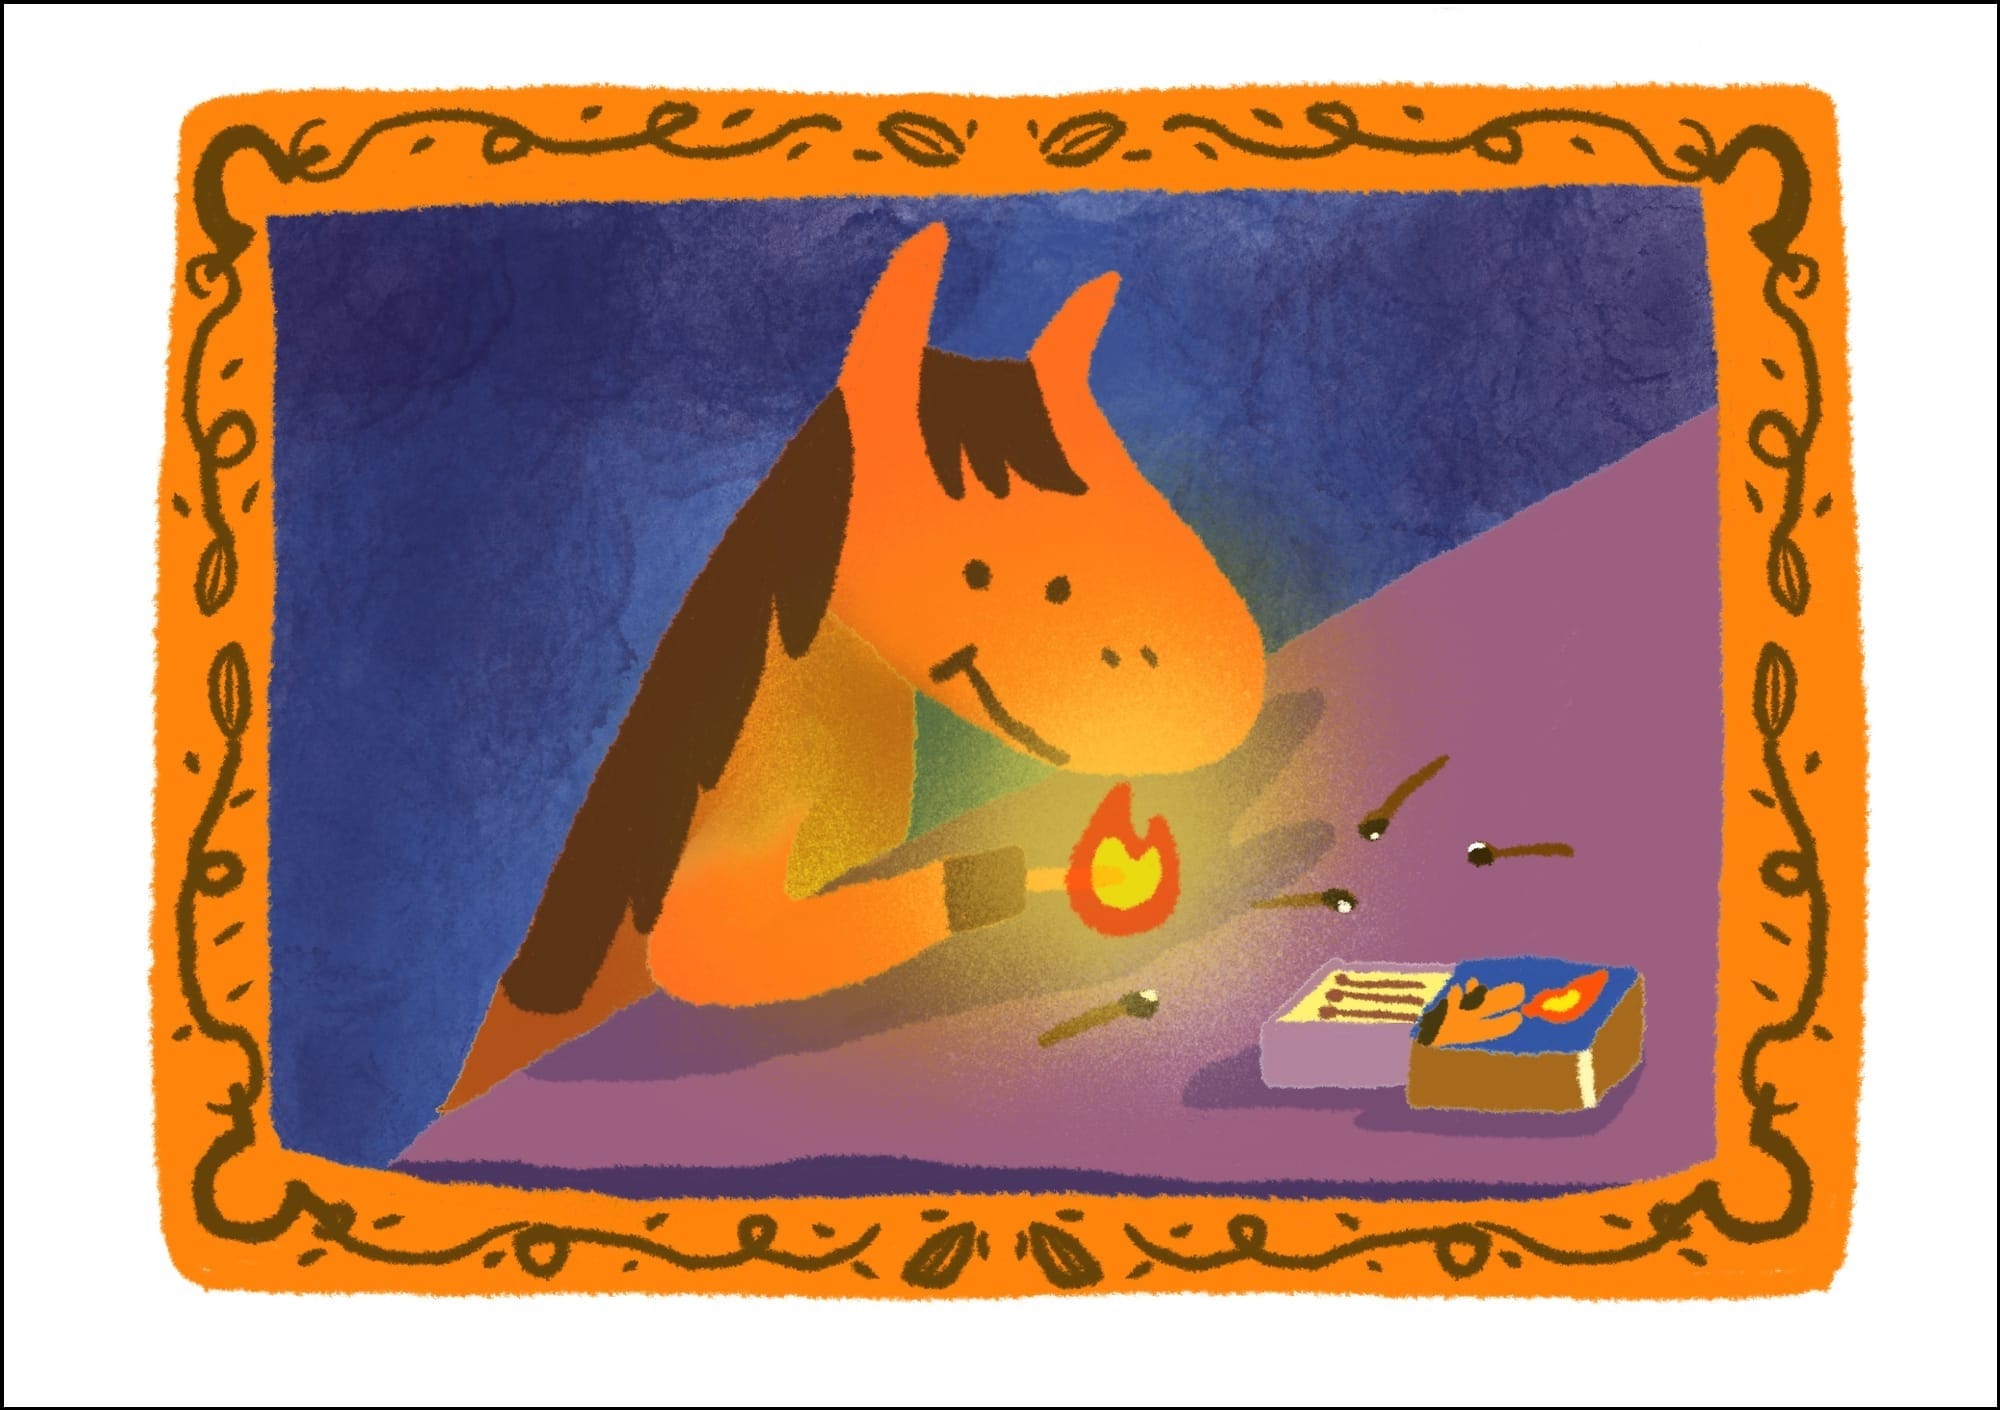
To make sure there were no mistakes, I created a separate print-ready PDF for each ink color using the grayscale files. While I was at it, I also exported transparent PNGs for each layer. Then, I opened those PNGs back in Procreate, placed each grayscale image on its own layer, added a colored ink layer above it, and applied a clipping mask. After merging the two layers together, I changed the blending mode to multiply—and voilà! A color mock-up preview!
This method helps me double-check for any forgotten masks, adjust tone densities, and spot any small errors. I was happy to see that everything looked good this time! I’m hoping to do a test print before officially submitting the artwork.